

...the exploits of a craft junkie!
Saturday, 29 March 2014
Using up scrap paper....
.....on this weeks That's Crafty piece.....well we never throw anything away do we! Anyway pop over to the That's Crafty blog for full details and more pics but in the meantime here's a little peek....
Donna xx

Friday, 28 March 2014
Lots and lots of little paper rosettes....
....for the Country View Crafts 'Paperchase' challenge......


I used up some old sheets of scrapbook paper that were lying in my drawer and several medallion/rosette dies...... Medallions by Brenda Walton, Paper Rosette by Tim Holtz and also the Mini Paper Rosette by Tim Holtz. I cut loads of the strips and then folded them all up, stuck them and then layered them up mixing up the sizes and designs as I went. Then I simply glued them in place on a ribbon....would be a fun and slightly unusual decoration for the front of a table at a wedding maybe or if you used lots of bright colours they'd be great at a childrens party.
Donna xx
Thursday, 27 March 2014
Stop Clowning around.....

Tuesday, 25 March 2014
Last project of the month....
....for Creative Expressions using their lovely little perfume bottle stamps. This little card features
the Art Deco bottle.....

Then I stamped the bottle three times and embossed again in gold, before cutting them all out. Once they were cut out I painted them with a little pearl mica to give the bottles a little shimmer. Before assembling I stamped the sentiment that comes with the bottle onto a scrap of card and coloured to match.

Then it was simply a case of arranging and gluing everything together....

Thanks for popping by, see you again soon :)
Donna xx
the Art Deco bottle.....
Started off by creating a backing sheet with some shaded distress inks.......Peacock Feathers and Pumice Stone.....and then some a bit of stamping using the Scented Corner Stamp which was then embossed with gold.
Donna xx
Saturday, 22 March 2014

Friday, 21 March 2014
Time for challenge No 2.......
....over at the That's Crafty challenge blog. Don't forget there's a £20 voucher up for grabs for one lucky participant of the challenge so make sure you head over to play. This time the theme for the challenge is 'Inky Antics' so it was time to get out the distress inks, a mask and a few stamps for a little inky fun.


 Stamp one of the quotes from IndigoBlu's 'Live, Laugh, Love' set direct to the card front...


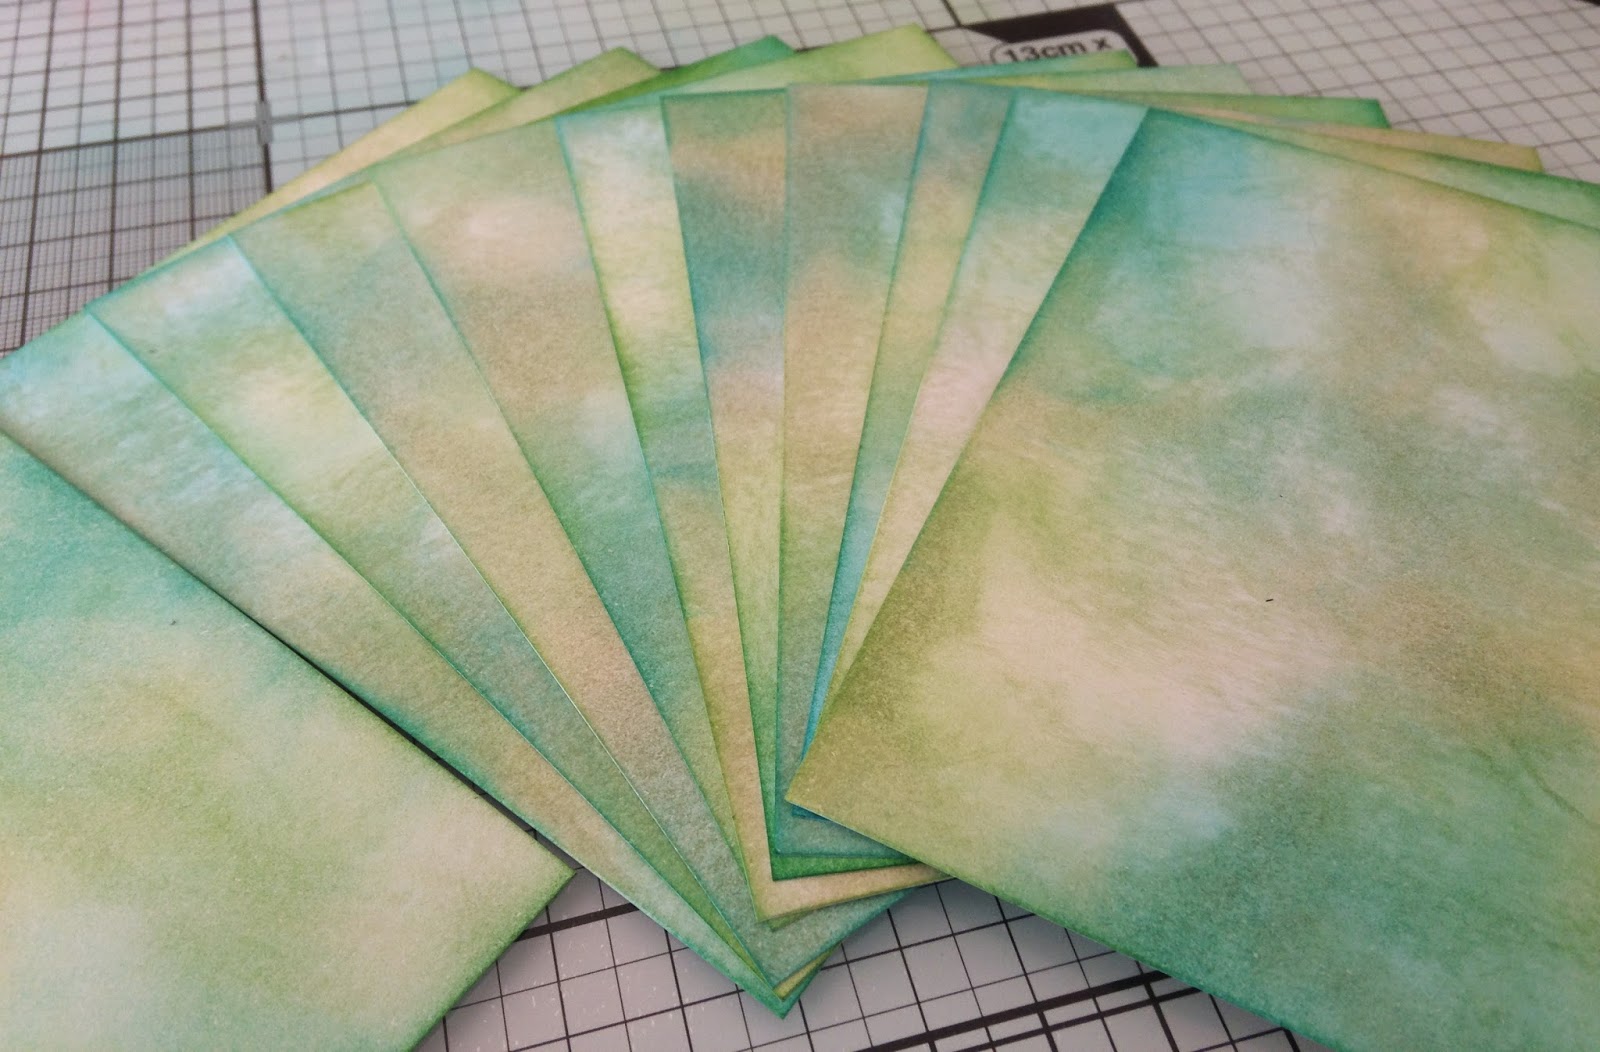
Here's a quick little how to, for all those who are interested.........firstly using a That Special Touch Mask as a guide add some distress ink direct to card front with a bit of cut 'n' dry. I've used Peacock Feathers and Mowed Lawn, a combination I discovered the other week and I love it!!
Leaving the mask in place, drop a little water onto the ink and blot to do a spot of faux bleaching and then add a little stamping. I've used a couple of Kaisercraft stamps......Grid and Script
Then stamp some of the flowers and leaves from the same set and colour them with a little distress ink, I used a bit of cut 'n' dry to do it with and then a damp paintbrush with some more of the ink to add a little more depth of colour.
I also stamped the dragonfly and added colour in the same way before arranging and sticking all the component parts together.....
Don't forget to pop over to the challenge blog to play
Donna xx
Tuesday, 18 March 2014
A box full of flowers and butterflies.....
....and a little how to make it. I've had a few people ask how I made the below 'card in a box' which was done for Sheena's latest stamp release.
 Right so first off I must say this wasn't my idea......had seen loads of this style of card on Pinterest and when I saw these new flower and butterfly stamps I knew it was a perfect vehicle for them. So did a bit of research and found a tutorial on YouTube but the card would have been way to small for these big stamps so taking the basic idea I reworked it to a size that would work with the stamps.
Okay this is actually really easy to make, first of all cut two pieces of card 8" x 8.5"
 Then with the 8.5" side to the top you need to score at 4" and 8", then turn the card around and score at 4"....
 Fold along all the score lines and then cut as shown below......
 Apply some wet glue along one of the small flaps......
 ...and attach to the other piece of card.

 Now to make the little struts inside you need to cut yourself two strips of card 5"x2", then score and fold half an inch from each end as shown below.....
 Using wet glue again (it's stronger and has a bit of slip to start with) position the first strip as shown...
 repeat with the second strip and you're done....
 Try and keep one of the flaps upright because this will be the back, you'll be covering it but it's still helpful to keep it as straight as you can.

 Once coloured glue them all into place as and where you want them. You might find it useful to cut yourself some little stems of card onto which you stick the flowers before attaching them to the struts inside the box.....just enables you to get a greater variety in height etc. Attaching them onto acetate strips would work well as then you could get extra movement.

Okay this is actually really easy to make, first of all cut two pieces of card 8" x 8.5"
You've almost got a box now......just repeat the last step and your fold down box is pretty much complete.
Now you can either use different coloured card or backing paper to decorate the sides of your box, the choice is yours. I created my own panels by inking each one with distress inks and then stamping each one. However you do it you will need one piece approximately 3.75"x 7.75" and 10 pieces approximately 3.75"x 3.75"....just check the measurements of your box to check the exact size you need.
Stamp out a large variety of flowers and butterflies and colour using the medium of your choice. I've used silks on mine.
Just keep checking whilst sticking the flowers in place that the card is still folding flat ok.
So there you go.......pretty simple isn't it? Not overly quick if you make all your side panels and you're colouring all your images but definitely one of those makes that looks harder than it is!
Donna xx
Subscribe to:
Posts (Atom)