Showing posts with label AquaTints. Show all posts

Sunday, 13 November 2016

Decorated notebook.....

....have to say I love the 8" scrapbooks you can get in Hobbycraft. Spiral bound, plain covers, decent weight paper inside, useful as scrapbooks, photo albums, art journals .......they're perfect for decorating! Had one of the Kraft ones sitting on the side and when I was doing some workshop prep the other day I thought I'd have a bit of a play :) So here's what I made, going to be a little 'just because' pressie for a friend.........
Took a few photos whilst I was making it so I could show you how I did it, just in case you fancy having a go.  Obviously wouldn't have to be on a book cover you could do the same thing on a canvas, box or even on a piece of card and mount it up onto a greetings card.

Right so first just to make life easier I carefully removed both covers, if you go gently you can do it without stretching the spiral binding too much and it certainly makes the decorating easier :) Then I grabbed a load of die cuts (from the Perfect Partner Time Traveller Range - All Geared Up and Make Time, from the Perfect Partner Country Cottage Range - Florists Friend and from the Perfect Partner Festive Fancies Range - Festive Ivy) and laid them on the cover, playing around with them until I found an arrangement I was happy with. Then I glued everything in place using tacky glue. Don't worry if your glue squidges out a bit because you're going to put a thin coat of gesso over everything so you won't notice it and its more important that everything is well stuck down. So now I had a front cover that looked like this....
and because it would have been rude to leave the back cover unadorned I popped a little decoration on there as well.....
Then I gave both covers a thin coat of white gesso and I wasn't precise with application just very roughly brushed it on. However try not to let the gesso pool around the die cuts too much or you will loose some of the texture. Next I brushed over with a very watery coat of brown aquatint; made from mixing a little of the red and green from the bright and beautiful set together. Now my secret weapon when I'm doing this type of thing is a baby wipe! After I've applied the colour I use it to soften the blend and remove areas of colour if needed.
I know it doesn't look terribly pretty at the moment but hey it's just the start! So lets get some more colour on and accentuate the texture by adding some shadows. Using the teal and the red colours from the bright and beautiful I mixed up a blue/purple colour and started to add some shadows around the edges and in between the die cuts.... 
Then it was just a case of building up more colour, even dribbling colour down in areas....was going for a shabby, distressed, vintage look so I really wasn't too precise! Mind you, you've probably noticed that!!
Also started to add colour to the greenery, wasn't bothering with the cogs etc because I was planning on getting the gilding wax on those......
Now gilding wax; I've used the Empire Gold and Antique Gold from Pebeo and if you haven't used this before......less really is more with this wonderful stuff! You really don't use or need a lot so go sparingly! Its far better to build it up slowly :) So I took it over the cogs and lightly over the leaves which highlights the embossed veining nicely which hopefully you can see in this picture..... 

Next I took some of the Pebeo gilding paste (the one in the little tube) and used it to outline some of the leaves then once the paste had gone clear it was ready for some gold foil. To finish off I stamped some wording (from the Time Traveller range) and then re attached the covers onto the spiral binding. A fun little project using a few simple techniques but creating a pretty (well I hope you think so) book. 


Thanks for stopping by
Donna x

Sunday, 17 May 2015

Furry Friends....

....is the challenge over at Sunday Postcard Art this week.  Now I'm more of a dog person than a cat one but I love this cat stamp so here's my make for this challenge......


....why not pop over and join in the fun :)


Donna xx

Thursday, 7 May 2015

New stamps and dies are on the way.....

...from Sheena! If you love flowers then you're going to adore this Victorian Floral collection.  It comprises of 6 matching stamp and die sets featuring Poppies, Anemones, Sweet Williams, Lillies, Bluebells, Lilly of the Valley and last but definitely not least Pansies. They will be launching on Create and Craft this coming weekend, 9th/10th May, so you'll be able to see lots of demonstrations from Sheena.

Here are a couple of samples I've made, both featuring the Poppy stamp and die set but showing just how different, at least I hope so, that they can look. The first is showing the Poppy as most people think of it.....that gorgeous red flower that pops up along our roads and in our fields. I've used a couple of older Sheena stamps in this sample; the cottage is 'Milestones and Moments' and the poppies in the background hidden behind top panel are 'Poppies and Daisies', both are from the Little Bit Sketchy range. All the colouring was done with AquaTints...
Next we have a bit of arty up-cycling of a Liquorice Allsorts Tub that I'd saved from Christmas. I coated the sides with black gesso to cover up the writing, then crackled it with a layer of blue Dyna paint, layer of PVA and then a top layer of more black gesso. The Poppies, this time Blue Himalayan Poppies, have been coloured with AquaTints.... 
So what do you think? Pretty stamps and dies aren't they? So blooming (sorry!!) versatile as well!  I'll pop back tomorrow to show you one of the other flowers from the collection :) 

Oh and if you're a Sheena fan and are on Facebook, I've set up a group on there, along with my fellow Inkoids, called 'Sheena's Ink-ettes'.  Basically its a group where you can share your 'Sheena' creations, get tips and loads of inspiration.....we'd love to see you over there!

Donna xx

Sunday, 3 May 2015

Another little scene....

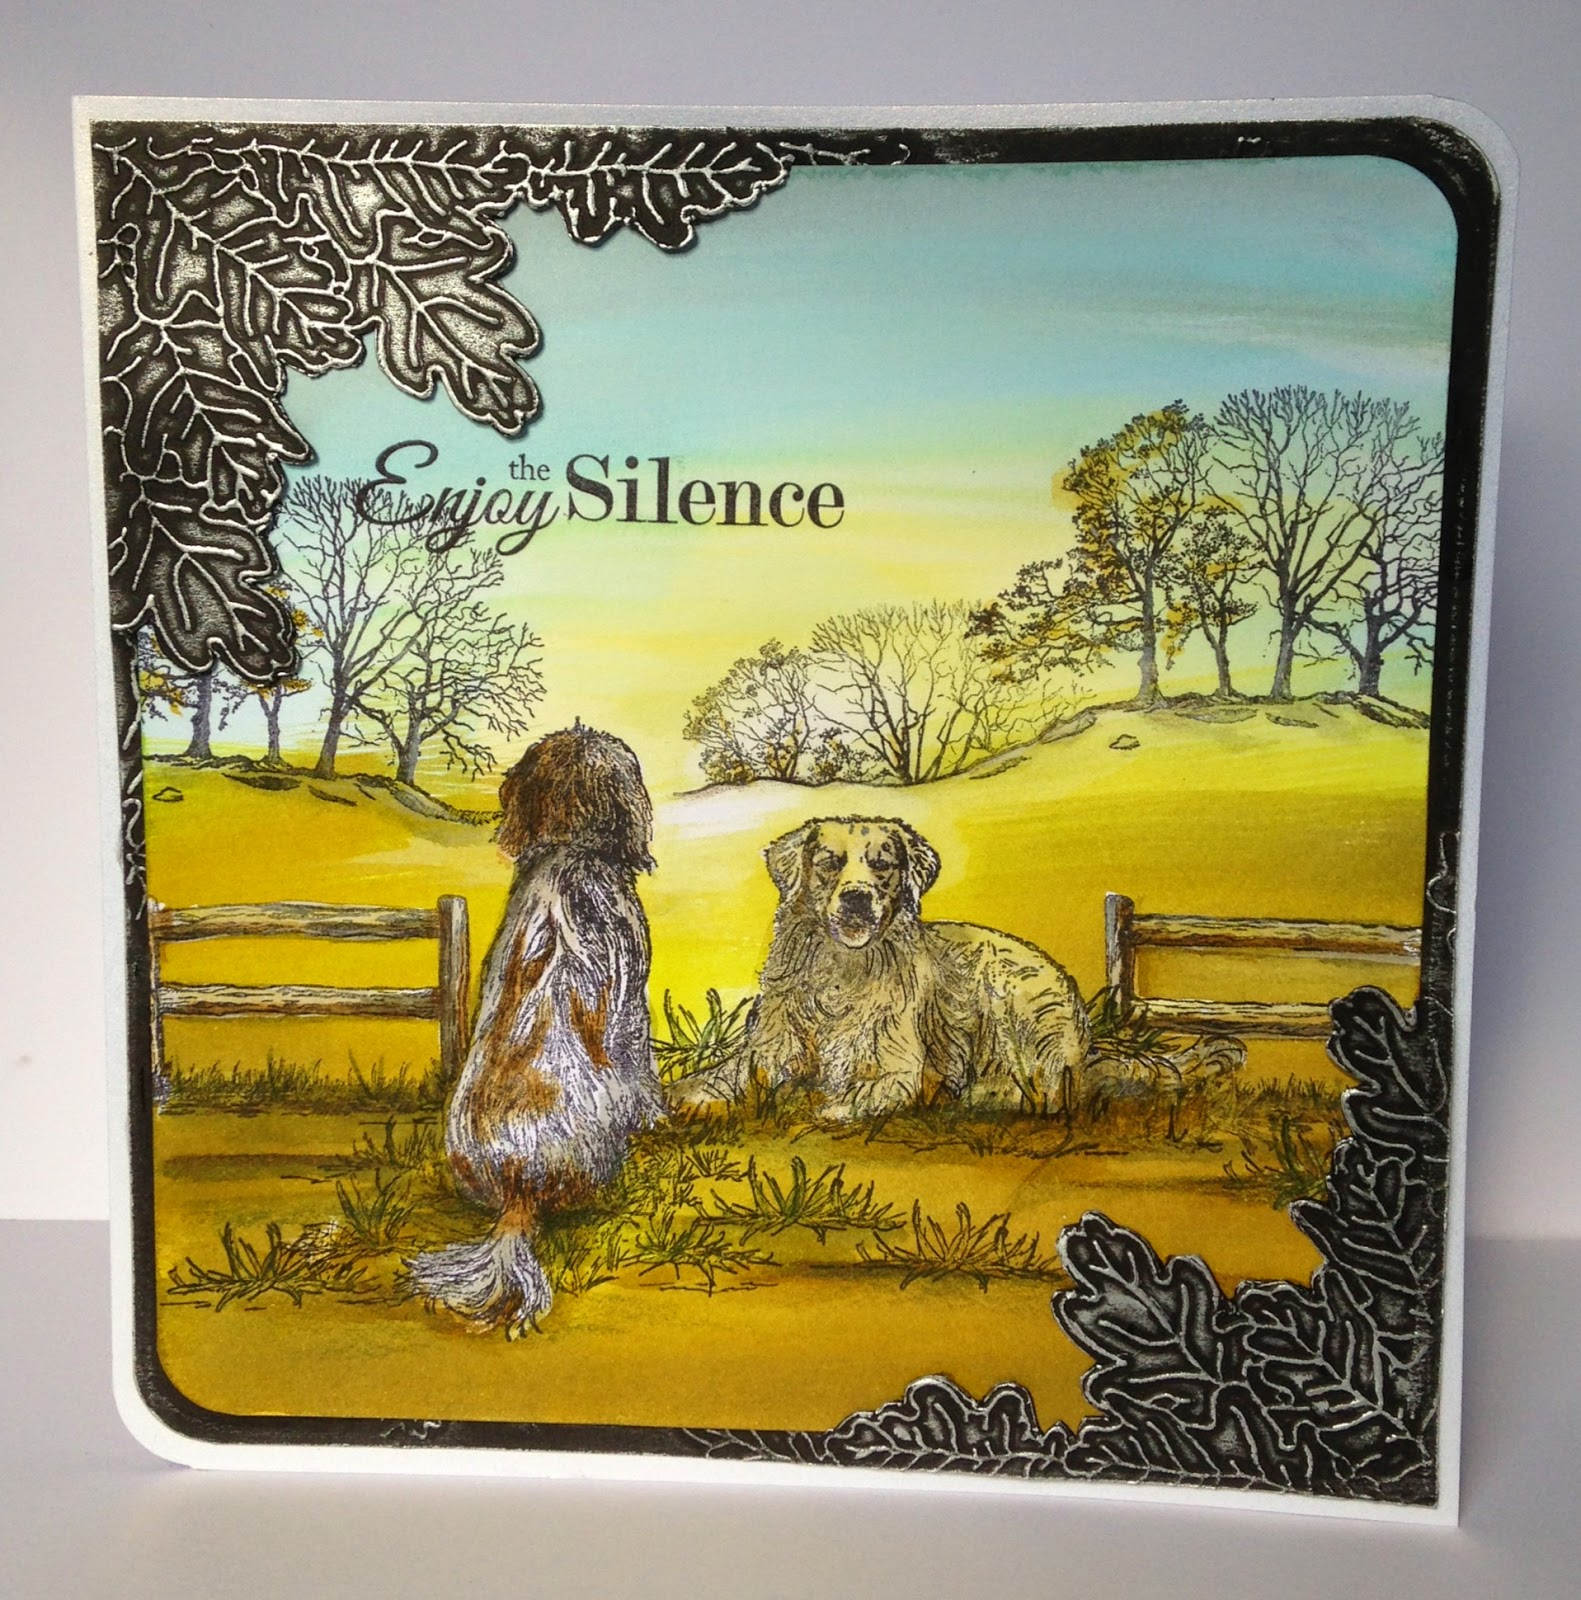
....for the Country View Challenge 'Simply Scenic' challenge. Now I went all warm and sunny for my first make so for this one I've used similar elements but changed the colours for an end of day scene with maybe just a little frost in the air....just catching the branches and the hills as the bird soars high above the fields.....
The technique is pretty much the same as my first card; first I stamped the images (Sheena's Perfect Partner stamp range) to create the scene, added the wash of colours using AquaTints and then added highlights and a moon by damping areas with a damp paintbrush and blotting with a bit of kitchen towel.  I also flicked on tiny spots of water and blotted to give the look of the first signs of stars in the evening sky....
I used the black AquaTint to fill in the tree and to paint a bit of a ground line across the bottom to 'plant' the tree firmly to the picture, also darkened the edges with some black soot distress ink...... 
To add a bit of a frame I used Sheena's Wildflower and Shady Meadow stencils.  Then stamped the wording and the bird before adding a few extra highlights on the tree using a white pen.

Why not pop over to the challenge blog, join in the fun and create your own scenic creation :)

See you again soon
Donna xx

Friday, 1 May 2015

Simply Scenic....

....is the new challenge over at Country View Challenges blog, chosen by me this month :)

I've used some of Sheena's Perfect Partner range of stamps, along with some from her Silhouette Grasses and Silhouette Garden stamp plates. I've used AquaTints for the colour but if you don't have them you could get pretty similar effects by blending with distress inks......it's just not as quick!!

So first off I stamped the main images onto some white card using a black archival inkpad....
....next for the colour, I wanted a warm, lazy scene so I went for washes of bright yellow, orange and pink which I applied quickly with a flat brush....
....then I gave it a quick dry. Next using a damp paint brush and a bit of kitchen roll I lifted out some of the colour to give me a sun and some highlights.  All you need to do is damp the areas you want to 'bleach' of colour, leave a few seconds and blot.....
Next I darkened the edges by blending on a little black soot distress ink before stamping the leaves and grasses to act as a frame to the scene. Adding the dark black round the edges make the centre glow more and gives a feeling of looking through into the light. I then stamped the sentiment, the dragonfly and the little bird sitting on the front of the tractor. To give even more feeling of light and sun I used an alcohol marker in a pale grey to add extra shadows around the tractor and beneath the trees...
All that was left to do was to mount it onto a card blank.  Hope you enjoy the scenic challenge and have time to play along :)

See you again soon
Donna xx


Tuesday, 10 March 2015

Another little look....

....at the new stamps and embossing folders from Sheena Douglass that are launching on Create and Craft on Thursday, along with Spectrum Noir AquaTints.....


Make sure to catch some of the shows :)

Donna xx

Monday, 9 March 2015

Ooh I love new stamps!!

....and there are new stamps and new embossing folders on the way from Sheena this Thursday on Create and Craft.  They are designed to compliment the Perfect Partner stamps and dies that were released at the beginning of the year but if you haven't got those it doesn't matter because these will be beautiful on there own.  Here are a couple of samples I've made for the show......


There will be a number of shows...8am, 11am, 2pm, 4pm and 7pm ...so try and catch one of them (or all !) if you can :)

Donna xx

Saturday, 7 March 2015

A fishy tale....

.....my make this week for That's Crafty....
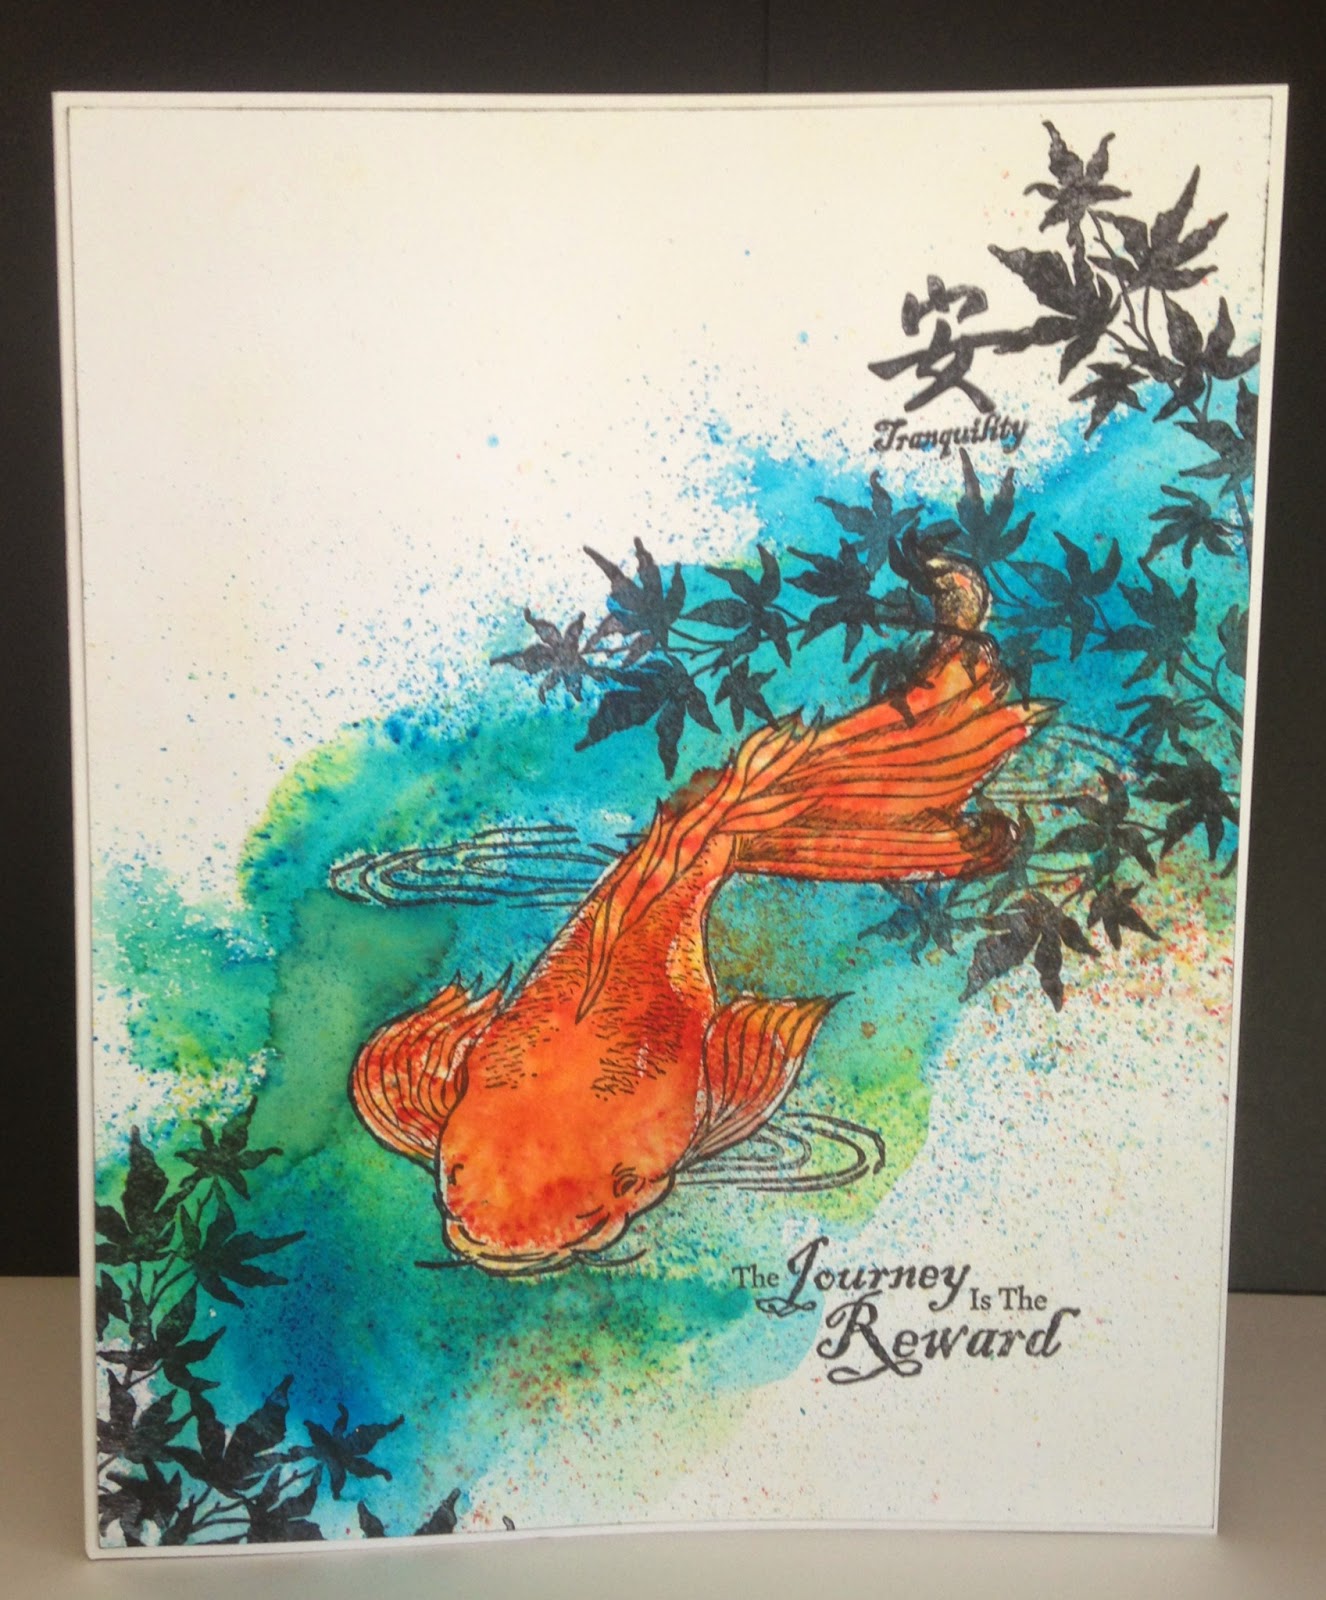
....my first little play with Brusho's (I know late to the party!) mixed with AquaTints; full details are on the That's Crafty blog as usual.
Donna xx

Saturday, 28 February 2015

Friday, 27 February 2015

The new challenge ....

....on the That's Crafty Challenge Blog is 'Oodles of Doodles' , here is my make...
...I started by wetting the top of a piece of card and then I allowed drops of AquaTint to blend and bleed down the card...
...then I stamped one of the figures from the stamp set using a black Archival ink and then started doodling a border, some rain drops and a few extra lines around the figure...
...finished it off by running a black ink pad around the edge of the card before mounting it onto a piece of white card, then the final step was to write the words using a black pen...
..don't forget to pop over and join in the fun......there's a chance of winning a voucher to spend at That's Crafty :)

Donna xx

Tuesday, 17 February 2015

Remembering.....

....a childhood love and a handsome friend.  As a kid I loved the Thelwell cartoons and illustrations so when I saw Crafters Companions new Thelwell release I was soooo tempted! Lol! Well I succumbed and got the CD as it had digi stamps on it and today I had a little play. When it came to colouring it had to be a chestnut, for a wonderful 7 years I was lucky to share many happy times with this wonderful and beautiful boy.......Sovereign a registered section D Welsh Cob who to say the least was a character!! I lost him many years ago now but I will forever remember the fabulous gallops we had :)
Anyway enough of that, or I'll start blubbing over my laptop! So onto the cards....two totally different styles one modern and funky and one much more traditional......
....I printed out the digi stamp onto watercolour card and then masked it off with Pebeo drawing gum and adding a few swirls and drops of gum as well. Then I added the background with Spectrum Noir AquaTints and also a bit of stamping and stencilling before removing the gum and colouring the image with Spectrum Aqua Markers. Now the next more traditional....
...the digi stamp combined with some real stamping in the background and some of the great new dies and stamps from Sheena Douglass. All coloured with Spectrum Aqua Markers.

Thanks for stopping by :)
Donna xx

Friday, 13 February 2015

Valentines......

....well it had to be the new theme over at the That's Crafty Challenge Blog didn't it! Perhaps not a typical Valentines card but I had fun making it......
...it actually started off life as a bit of card that I'd used to clean up some AquaTints with the other week when I was playing, I mean working!
I stamped the Alice Palace hares onto a bit of scrap backing paper that was kicking around in the 'bit' box and cut them out, added a bit of shading with some distress ink and glued them onto the background. Then used a Carabelle studio stamp to stamp the heart. Then I tore some strips of the backing paper and roughly cut out a few hearts and added a bit of stamping to them with another Carabelle Studio stamp. To finish off I trimmed the piece down, glued to a card blank, added a sentiment and a bit of doodling.
There's a chance to win a £20 That's Crafty voucher so why not pop along and join in the fun.
Donna xx


Sunday, 1 February 2015

Drips and Drops....

....is the new theme over at the Country View Crafts Challenge. Lots of colourful, watery drips and drops on this one......
Started off by stamping my little foxy character (Viva Las VegasStamps) onto a piece of white card. Then using some Pebeo Drawing Gum (masking fluid which is water soluble so washes out of your brush completely) I masked off the fox, I also drew a few fine lines with the gum using the end of the brush handle and then added a few drops.... 
Then I added a few drops of AquaTints to my glass mat and spritzed well with water...now I used AquaTints but you could just as easily squish your Distress Ink Pads onto your glass mat and use them...
Then I picked up the colour onto my stamped and masked piece of card. Although some colour will sit on the dried masking fluid it won't permeate through to the paper...
Before removing the masking I added a bit of stencilling using a Tim Holtz layering stencil. Then I simply rubbed of the masking with my finger and then painted the little fox.  To finish I mounted it all onto a card blank and added a couple of stamped words.

Thanks for stopping by and don't forget to pop by the Country View challenge site to join in the fun,
Donna xx 

Friday, 30 January 2015

Animal Crackers....

....is the new challenge over at the That's Crafty Challenge Blog. I've used an Alice Palace stamp and AquaTints for my entry....

Make sure you pop over and join in the fun.....you might win a £20 voucher :)
Donna xx

Monday, 8 December 2014

New Stamps and Stencils on the way....

.....from Sheena Douglass.

Sheena will be launching some great new stamps and a lovely collection of new masks on Thursday 11th on Create and Craft, first show will be at 8.00am. Here's a little peek at one of the samples showing one of the new stamps and a great new trees stencil.....


.....the background was covered with a wash of Aquatints and then faux bleached. Once that was dry I put a mixture of black gesso and gold AquaTint through the tree stencil.  The girl was stamped, cut out and coloured with Aquatints.

I'll be back tomorrow with another little peek :)

Donna xx

Sunday, 30 November 2014

Greetings from Abroad....

.......is the theme over at Sunday Postcard Art.  My greetings come from a hot Africa (oh I wish, she says staring out onto a cold november day!)....
Donna xx

Saturday, 29 November 2014

Friday, 28 November 2014

All About Face....

...is the new challenge over on the That's Crafty Challenge blog. I used a bit of card for my base that had been used to try out and mop up colours after I'd been working with AquaTints.....
....onto that I stamped the face stamp from Carabelle Studio's and added a bit of background stamping and wording using Kaisercraft  clear stamps.
If you can pop over and join in the fun, there's a chance to win a £20 That's Crafty voucher!

Donna xx


Saturday, 15 November 2014

A little Cracker Box....

...for this weeks That's Crafty make.....
...full details on the That's Crafty blog as usual.
Donna xx

Friday, 14 November 2014

Anything Vintage.....

..is the new theme over on the That's Crafty Challenge blog.  Here's my make for this challenge a vintage chemist combined with AquaTints.....
I stamped out the images using the 'The Chemist' stamp set by Tim Holtz and then using the AquaTints in the simplest way just used them to paint the image.....
I love the way you can overlay the colours and see the underlying colour shining through.  I've used a mixture of the Beautifully Grunge, Essentials and Pastel sets of AquaTints for this....
Pop over and join in the fun, there's a chance of winning a £20 voucher :)
Donna xx