Showing posts with label vintage. Show all posts

Sunday, 13 November 2016

Decorated notebook.....

....have to say I love the 8" scrapbooks you can get in Hobbycraft. Spiral bound, plain covers, decent weight paper inside, useful as scrapbooks, photo albums, art journals .......they're perfect for decorating! Had one of the Kraft ones sitting on the side and when I was doing some workshop prep the other day I thought I'd have a bit of a play :) So here's what I made, going to be a little 'just because' pressie for a friend.........
Took a few photos whilst I was making it so I could show you how I did it, just in case you fancy having a go.  Obviously wouldn't have to be on a book cover you could do the same thing on a canvas, box or even on a piece of card and mount it up onto a greetings card.

Right so first just to make life easier I carefully removed both covers, if you go gently you can do it without stretching the spiral binding too much and it certainly makes the decorating easier :) Then I grabbed a load of die cuts (from the Perfect Partner Time Traveller Range - All Geared Up and Make Time, from the Perfect Partner Country Cottage Range - Florists Friend and from the Perfect Partner Festive Fancies Range - Festive Ivy) and laid them on the cover, playing around with them until I found an arrangement I was happy with. Then I glued everything in place using tacky glue. Don't worry if your glue squidges out a bit because you're going to put a thin coat of gesso over everything so you won't notice it and its more important that everything is well stuck down. So now I had a front cover that looked like this....
and because it would have been rude to leave the back cover unadorned I popped a little decoration on there as well.....
Then I gave both covers a thin coat of white gesso and I wasn't precise with application just very roughly brushed it on. However try not to let the gesso pool around the die cuts too much or you will loose some of the texture. Next I brushed over with a very watery coat of brown aquatint; made from mixing a little of the red and green from the bright and beautiful set together. Now my secret weapon when I'm doing this type of thing is a baby wipe! After I've applied the colour I use it to soften the blend and remove areas of colour if needed.
I know it doesn't look terribly pretty at the moment but hey it's just the start! So lets get some more colour on and accentuate the texture by adding some shadows. Using the teal and the red colours from the bright and beautiful I mixed up a blue/purple colour and started to add some shadows around the edges and in between the die cuts.... 
Then it was just a case of building up more colour, even dribbling colour down in areas....was going for a shabby, distressed, vintage look so I really wasn't too precise! Mind you, you've probably noticed that!!
Also started to add colour to the greenery, wasn't bothering with the cogs etc because I was planning on getting the gilding wax on those......
Now gilding wax; I've used the Empire Gold and Antique Gold from Pebeo and if you haven't used this before......less really is more with this wonderful stuff! You really don't use or need a lot so go sparingly! Its far better to build it up slowly :) So I took it over the cogs and lightly over the leaves which highlights the embossed veining nicely which hopefully you can see in this picture..... 

Next I took some of the Pebeo gilding paste (the one in the little tube) and used it to outline some of the leaves then once the paste had gone clear it was ready for some gold foil. To finish off I stamped some wording (from the Time Traveller range) and then re attached the covers onto the spiral binding. A fun little project using a few simple techniques but creating a pretty (well I hope you think so) book. 


Thanks for stopping by
Donna x

Thursday, 14 July 2016

Oh my word!!!!

It's over a year since I blogged!!! How can that be? Probably has something to do with the fact that I'm a lazy, bad blogger ........hangs head in shame :(

Well I'm making no promises but I'm going to try and get my backside in gear and get blogging again,

Now lets see shall I start where I left off? With a little bit of Christmas......I mean what else would one blog about in July? So how about I show you a couple of samples made with Sheena's new Christmas stamps for 2016? They have a lovely vintage feel, being based on Victorian Christmas postcards and cards and so many of the images could easily be used for non Christmas cards and projects. This first card is a good case in point, the ink well and quill would be great for so many occasions but teamed with some die cut holly and ivy it makes for a sleek Christmas card perfect for business use or with a masculine feel.


Then we go to something very traditional and vintage in feel, I'm thinking Santa might just have nipped out for a cuppa before continuing to write his lists. This was a really simple make; the chair and holly were stamped in Walnut Stain Distress Ink and then the colour was brushed out with a damp paintbrush ( NOTE: damp not wet!!) and then a little extra colour added with watercolour pencils. 


Right well I promise I'll be back sooner than last time (well I promise to try anyway!).
Donna xx

Saturday, 31 January 2015

Dare Devil Tag...

...for my weekly DT make for That's Crafty
As usual all details of stamps etc can be found on the That's Crafty blog.

Donna xx

Saturday, 13 December 2014

Another little festive postcard...

....I've made another vintage themed postcard for the challenge over at Country View Challenges.....
I used Oxford Impressions stamps, love their vintage, nostalgic style and lots of distress ink to give a faded, old look. Took a few pics as it progressed through various stages of stamping and inking!! Lol!........


Pop over and join in the fun.....

Donna xx


Tuesday, 23 September 2014

Time to walk the plank........

......my hearties!
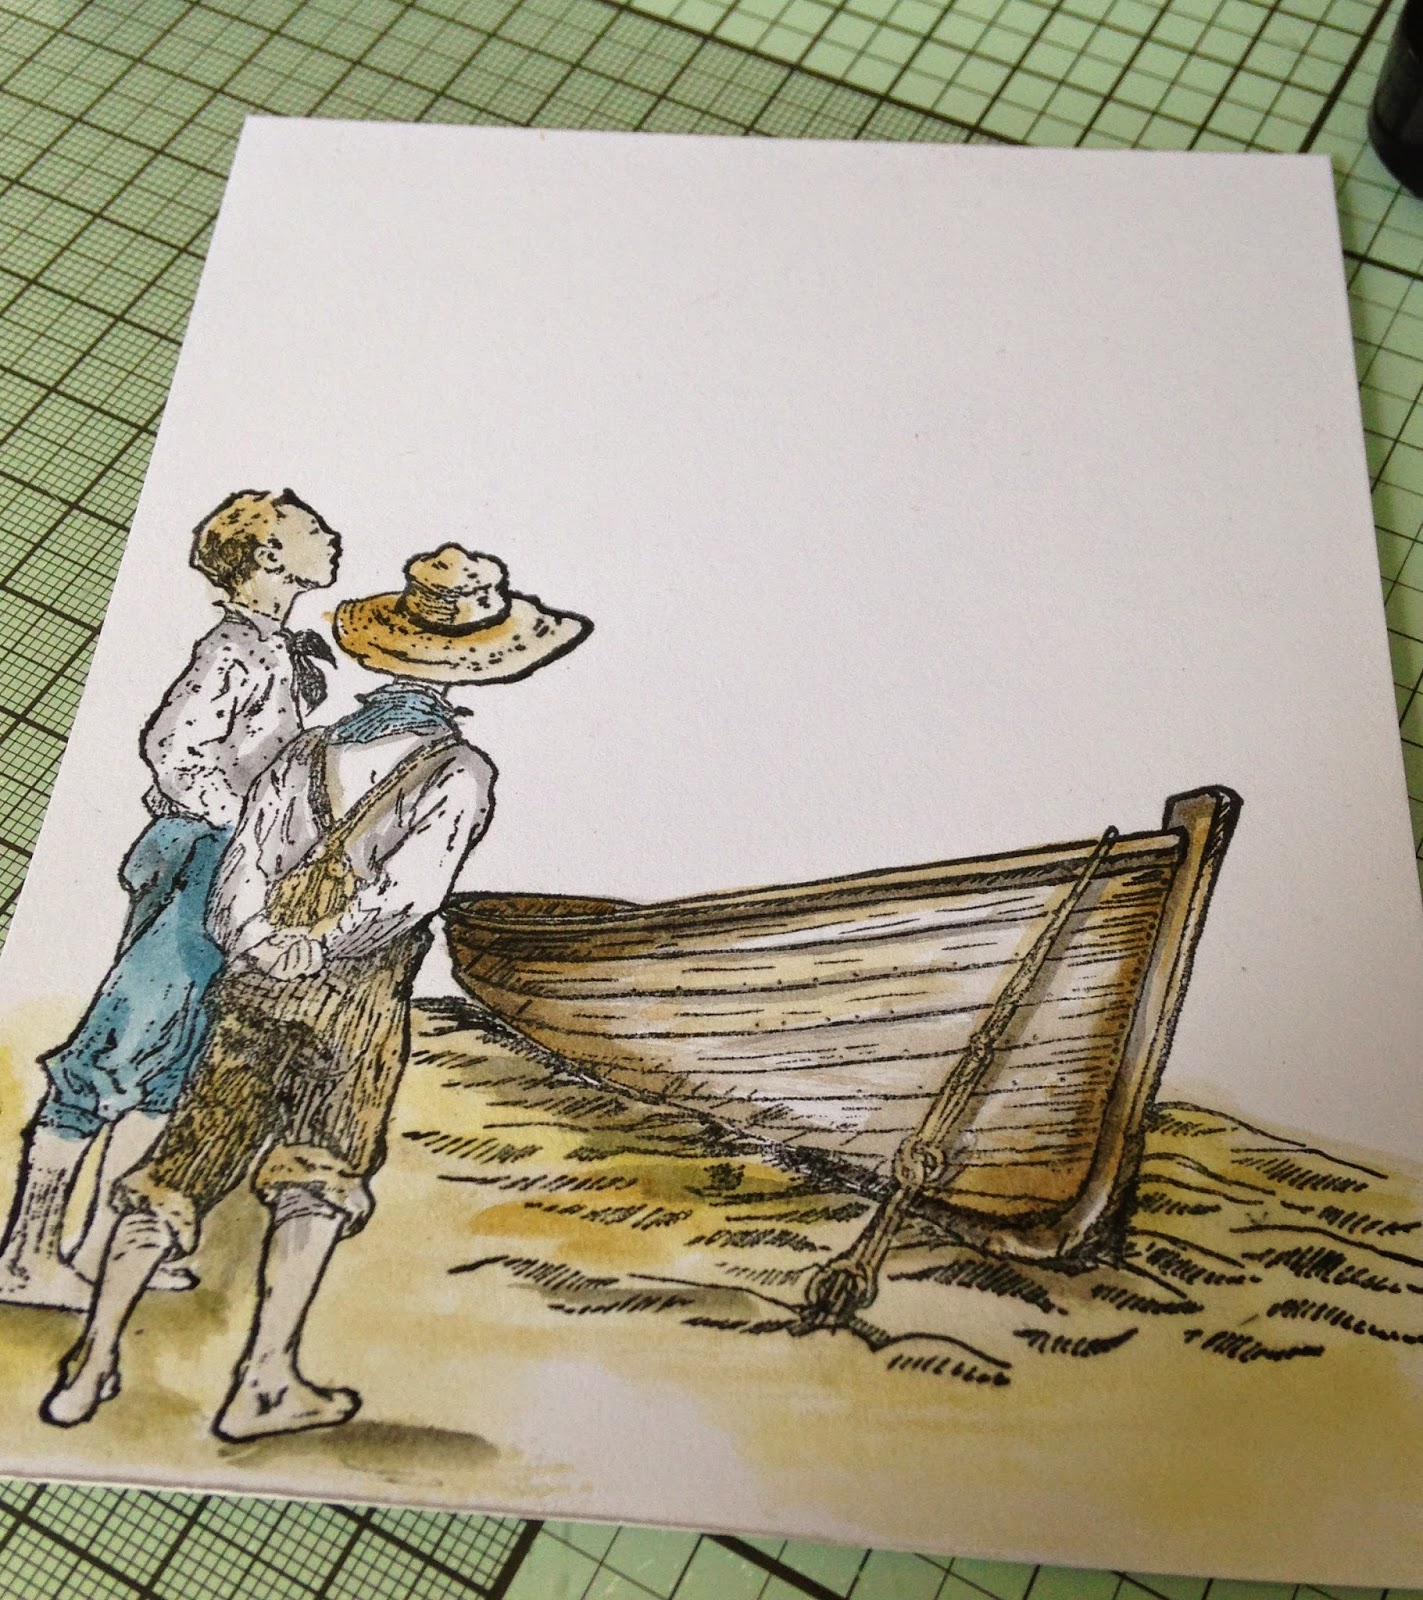
This little piratical offering is my second offering for the Country View Challenges September Nautical challenge. Think lots of little boys and probably quite a few little girls have played at being pirates and these two seem to be dreaming of high seas and adventure!

A real mix of stamps here! Started off by stamping the boys from Artistic Outposts 'Huck Finn' plate and the boat which is a Sheena Douglass stamp, then painted these with Distress Inks.....


Then stamped some wording from the Huck Finn plate, blended on some blue distress for the background taking it over the images in place to anchor (no pun intended!!!)them to the background.


For the pirates flag I stamped the giant skull from Oxford Impressions Danse Macabre set and then drew in the crossed bones with a black fineliner.


Then I coloured the background in with some Black Soot distress ink. To join the two bits together I punched some holes with my crop-a-dile and tied them together with some thin black hemp cord.


There's still time to pop over and join in the challenge, so why not join in the fun :)

Donna xx


Friday, 19 September 2014

A treasure from the deep....

....a Pirate's Bottle -
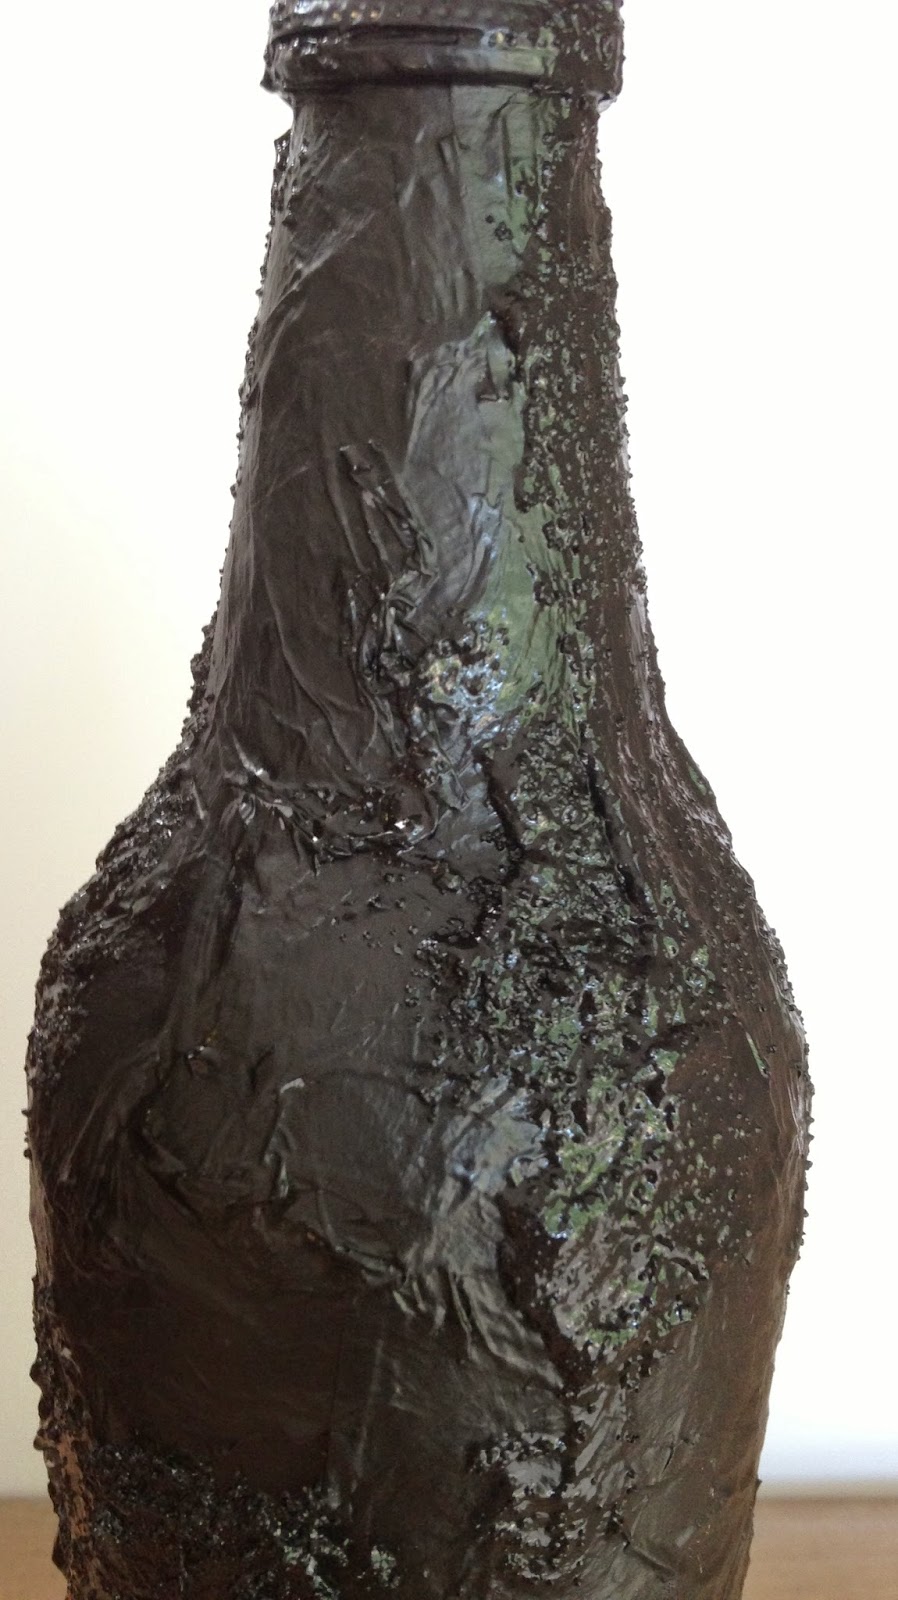
Well okay maybe just an empty bottle that I had some fun with! Lol! Its started life as an empty Schloer bottle which I coated with lots of bits of torn up white tissue.....(nothing fancy just some tissue I'd saved from some packaging)......made sure it went on with plenty of wrinkles so there would be lots of texture......
Once that was dry I added a few bits of Pebeo texture paste here and there, then when that had dried I painted the whole thing with Pebeo black gesso....
Then I wanted to add a bit of colour, wanted a sort of oil on water look, so I took three colours of Luminarte Silks......a dark green, a dark blue and a red.......and splodged it all over the bottle making sure it was well watered down because I wanted a shimmer of colour only. Once that was done and dry I lightly applied Renaissance Gold Pebeo Gilding Wax to highlight the texture.
So now for the label featuring the great Phantom Ship that is one of the new Sheena Douglass stamps launching today on Create and Craft at 9am. I cut myself a piece of Desert Storm Neenah Card the size I needed for the label and blended on some distress ink in Gathered Twigs and Pumice Stone, then I spritzed some water mixed with a little glucose onto my craft mat and laid my piece of card in it. Then I carefully scrunched up the card a bit, flattened it out with my hand and stamped the ship and the wording.................now you might think why not stamp it first? Well that's exactly what I did the first time but but the time I'd finished inking and scrunching I'd lost too much definition, hence my second attempt and stamping a little later in the process...........once it was stamped I damped it a bit more and scrunched again. Then I roughed up the edges with a pair of scissors, tearing it in a couple of places as I went. After that I dried it with the heat gun, lightly rubbed more ink round the edges and then lightly sanded the top of some of the creases. I'm sure you've all seen Sheena's faux leather technique using Kraft card and the water/glucose mix well I discovered that using that same mix with Neenah card results in something that dried almost like a dried skin! Perfect for an old pirate's bottle!!
To finish I added an old button to the top of the cap, a few spider charms and wrapped some black hemp around the neck which I glued in place and added some gilding wax too.
I have to admit I had a huge amount of fun creating this, really hope you like it!! :)

Donna xx


Thursday, 18 September 2014

Saturday, 23 August 2014

A vintage trip to Paris...

....for this weeks That's Crafty make......
.....as usual full details are on the That's Crafty blog......pop over for a look :)
Donna xx

Friday, 22 August 2014

This is a Man's World.....

....well over at the That's Crafty challenge blog anyway (not so sure I'd agree in general! Lol!).  Here's my 'All Male' tag that I've made for the challenge.....
Started out by stamping the three guys ....The Time Travellers, The Chemist.....onto some thin scrap paper and cutting out to create myself some masks.  Then I stamped them onto some white stamping card, masking each one off as I went, once I had them stamped I kept the masks in place and added some background stamping using the text stamp from The Chemist set and the cogs from the Time Travellers set. Then I cut everything out in a tag shape leaving parts of the images hanging over the edge.
Then I blended some distress ink onto the background and painted the figures with it as well. Then finished with some die cut lettering and a few Chit Chat words.

Make sure you pop over to the challenge blog and join in the fun.....there's a chance to win £20 as well.

Donna xx


Tuesday, 1 July 2014

'Stencil It' .......

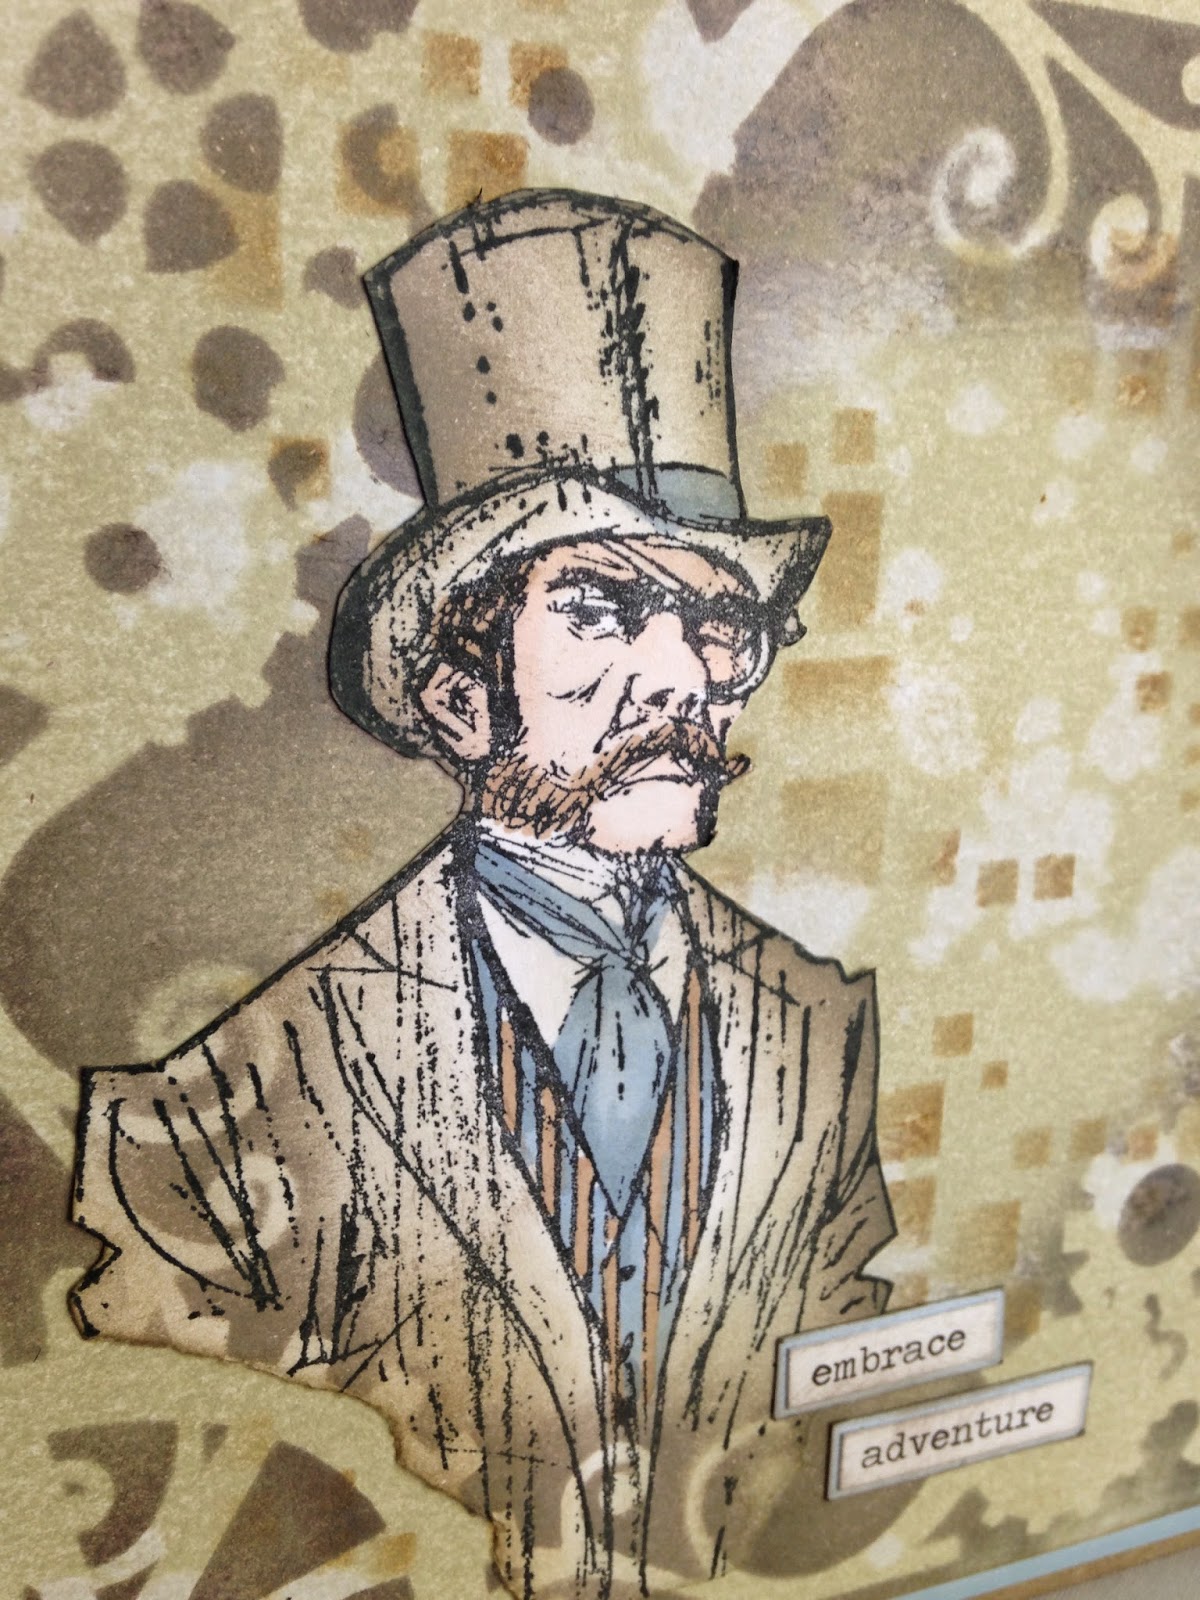
....is the new theme for the month of July over at the Country View Crafts Challenge blog. I've gone for a masculine card for my first DT sample piece.......and yes I got the Time Travellers stamp set out again!! Can't help it love this set, lol!
Right so a quick how it was made.... first covered a bit of paper with 'Old Paper' distress ink and splashed some water on for a faux bleached effect
Then I got the Doodle Squares mask and randomly applied a bit of Brushed Corduroy distress ink through it, then I laid the Steampunk mask down and applied Pumice Stone making sure I didn't extend the colour to far into the middle of the square...
I stamped one of the figures from the Time Travellers set and cut him out, then lightly brushed him with a bit of Old Paper distress ink.  When I laid him in position though I didn't like the way he was going to look stuck on.....
.....so I left him in position replaced the Steampunk mask and blended a little Pumice Stone distress ink over the bottom corner  
I liked that much more! So glued him in place added a little more colour using my trusty alcohol pens (mixture of Promarkers and Spectrums) and then mounted it up and attached to a blank card.
Make sure you pop over to Country View Challenges and join in the fun.......there's also the possibility of winning a £20 voucher or maybe getting the chance to guest on the Challenge blog......so what you waiting for......we'd love to see you :)

Donna xx


Tuesday, 10 June 2014

A vintage beach scene....

....for today's Creative Expression make.....


A nice simple monotone make, simply stamp the two figures.....'Beauty and the Beach' and 'Treasure Seeker' onto a piece of white card using Pumice Stone distress ink. Then using a damp paintbrush pull out some of colour from the stamped line, adding more colour where necessary by picking up ink from your craft sheet. Continue until the image is painted and then blend a bit more Pumice Stone around the edges using cut 'n' dry foam.....
Mount onto a piece of white card leaving a narrow border. Then take another piece of card slightly larger and add some Pumice Stone just round the edges. 
Wrap some woven hessian style ribbon and some white seam binding around the middle of this piece and then mount onto a white card blank. 
Then mount the picture onto this using some 3D glue gel/silicone.  Add a bow and some stamped seagulls to finish .....stamped and coloured same way as main image.
Thanks for stopping by, enjoy the rest of your week :)

Donna xx


Friday, 30 May 2014

A bit of Texture.....

....for my piece for the That's Crafty Challenge where this fortnight we're being asked to use Texture Paste in our creations.  I've done a door hanger for my offering using the required texture paste and my obsession of the week a stamp from the Time Traveller stamp set.......
So here's a quick how to.....started off by giving the blank door hanger a quick coat of gesso and then added the first bit of texture with some clear texture paste through the Crafters Workshop Mini Specimen Template. When that was dry I gave it a light coat of Evergreen Bough distress paint, which I let dry slightly then wiped some of it off to give a more faded appearance.
Then for the next layer I used some copper texture paste through a brick mask, instead of waiting for it to dry I used a heat gun to dry it.......letting the past bubble slightly as it dried.......I really like the extra texture it gives.
Then I added some shading around the edges with Pumice Stone distress ink, and a bit of stamping with a text stamp....

Then I just added my stamped and coloured figure (coloured with Promarkers) and some words from the Paperboy set by Artistic outpost.

Thanks for stopping by and do pop over and join in the challenge at That's Crafty.

Donna xx

Thursday, 29 May 2014

Time for another TagAlong challenge....

...and this week the theme is chosen by yours truly......what did I pick??? Nice easy one for everyone....'Tick Tock'.
So apologies that the below tag features a stamp from the Time Travellers stamp set, I'm just loving this set! However only one more creation with it to come this week after this tag and then I'll put it away for awhile!! Lol!
Right here's the tag....
Background was done with distress inks, then I added some stamping using a really useful little set of stamps from Stamp Addicts ... Grunge 2. Then I added a die cut Weathered Clock which I coloured with distress ink and clear embossed and one of the figures from the Time Travellers set which I coloured with promarkers. The clock are some old stamps I've had for ages from Invoke Arts and the last bit was adding some words from one of the chit chat word packs by Tim Holtz.
Hope you pop over to TagAlong to join in the challenge :)
Donna xx

Wednesday, 28 May 2014

One for Dad......

....I've not only managed to make a Father's Day card but I've made it early.......the glue will actually be dry when I give it for once!!! Lol! Suppose I better be honest it was actually a case of I was making my piece for Country View Crafts and then thought it would do as my fathers day card, anyway here's the card and details of what I used and how it was done are on the Country View Crafts blog.
Donna xx

Saturday, 10 May 2014

A masculine card......

....for this weeks That's Crafty make. Full details and a step by step are on the That's Crafty blog but here's a quick look for you......
Donna xx