Showing posts with label Creative Expressions. Show all posts

Friday, 17 April 2015

Back with another make....

... for the challenge over at Country View Challenges where the theme is 'Use Kraft'.  For my second make for this months challenge I've used one of the new Create a Card dies from Crafters Companion, the Moroccan Lattice but no Moroccan feel here more a touch of English countryside...
The dies are A6 in size so because I wanted to keep it all quite quick and simple all I did was cut a sheet of A4 Kraft in half lengthways, scored in half to create a tent fold card and then used the Moroccan die to cut the front side of the card...
With the card closed I stamped the sentiment through the aperture onto the inside of the card. Then I stamped the squirrel from Sheena's Little Acorn stamp set and cut it out, I also stamped some of the oak leaves and acorns and used the matching die set to cut them out. I roughly laid them onto the card before colouring to check if I had enough and then snapped a quick picture on my phone to help me remember where I'd positioned everything ....
.... I often do that it helps with positioning and it saves trying to remember where everything was when it comes to gluing! Lol! Anyway they needed to be coloured so I painted them with distress inks - Mowed Lawn, Vintage Photo and Spiced Marmalade. Once they were coloured and stuck in place I decided the inside needed a little extra colour so I stamped and painted a few of the tiny acorn leaves around the sentiment...
..why not pop over to the challenge blog and join in the fun, you could win a £20 voucher :)
Donna xx


Saturday, 1 November 2014

Tangled Poinsettia.....

.......for my weekly That's Crafty make.....
.......as usual details of stamps used etc are on the That's Crafty blog
Donna xx

Tuesday, 28 October 2014

Time to say goodbye....

....this is my last post as a member of the Creative Expressions DT because my year has come to an end......it's been a great pleasure being a member of the group and I have to thank all Sarah And Tracey for all their hard work in organising and running the team.

So for my last make I have a classic Black and White make using the Filigree Frame stamp....
This is one of those cards which is quick to do, and I mean quick, but looks elaborate enough that whoever received it would think you'd spent ages on it!! Literally all you need to do is stamp the frame in black, trim and layer onto some black card. then mount that onto a larger piece of white card and then onto a black card blank. Add a bit doodled stitching, and then arrange some pearl swirls around the edges. Finish off with a large white bow with a pearl embellishment in the middle. See told you it was a quickie!!
 Thanks for stopping by and thanks for all the visitors I've had during my time with Creative Expressions, I hope you'll still stop by from time to time :)

Donna xx

Tuesday, 21 October 2014

Another day....

...another frame.  I've used another one of Creative Expressions new frame stamps for my make this week. This one is 'Curled Frame' and comes complete with this lovely quote ....
This is a seriously simple but colourful make. Start off by making your background by simply splodging bits of distress ink onto your craft sheet (I used Picked Raspberry and Crushed Olive), spritz it with water and then pick up the colour by dabbing and swirling your card stock through the colour. 
Then stamp the frame onto another piece of white card, trim and paint with the same colours of distress ink...
To finish off, simply trim, layer onto some black card and assemble....
Thanks for stopping by :)

Donna xx

Tuesday, 14 October 2014

A bit of Kraft.....

....and one of the new frame stamps for my Creative Expressions make this week.

I used the Wrought Iron Frame singles stamp and stamped it onto a piece of white card in Potting Soil Archival Ink, then cut it out, added a bit of shading with Gathered Twigs Distress Ink and mounted onto a piece of brown card
                                                   
I stamped the centre bit again, cut it out, shaded it as before and mounted it onto the first piece but at a slight angle. To create the base of the card I cut a piece of Kraft card and randomly stamped the Alpha stamp all over it using Potting Soil Archival, added some shading with Gathered Twigs and a little doodled line around the edge. Then I wrapped a piece of green and ivory striped grosgrain ribbon around the middle, gluing it behind before mounting the whole thing onto a white card blank which I had shaded with Gathered Twigs.
Then I glued the stamped frame panel in place, tied a bow of the same striped ribbon and  added it to the side of the panel.  To finish it off I added another doodled line but this time around the edge of the card base.

Donna xx


Tuesday, 7 October 2014

Rainbow Frame

I have a bright and colourful offering for you today, as I start my last month as part of the Creative Expressions DT.......
I used the Filigree Frame Singles Stamp, inked it up with a mixture of Peacock Feathers, Spiced Marmalade, Mustard Seed and Picked Raspberry Distress Ink then lightly spritzed with water before stamping. (Note: didn't ink up the wording because I intended to overlay the centre panel)....
Then I inked up just the centre and stamped the wording panel....
I cut out the coloured frame, cutting close to the edge and the sentiment and then layered the sentiment panel onto the coloured frame using a bit of 3d glue gel. Then I matted the whole thing onto a black piece of card.  To create the larger frame for the background  I inked up the stamp as shown, didn't bother missing the wording because I knew it wouldn't be seen....
I stamped the frame twice as shown below.....
Trimmed up the frame, mounted it onto black card and then added my previously made topper.  Then it was time to paint the outer frame using the same colour of distress inks that I'd used for the central panel....
Once I'd filled in areas with colour, I added some doodling....
Thanks for stopping by :)

Donna xx


Monday, 29 September 2014

A box of Poinsettias....

...for my last make of this month using the new Sue Wilson Christmas Dies.
These pop up boxes are pretty simple to make but make an impressive show.
To make the box I took an A4 piece of card and scored at 7cm,14cm, 21cm and 28cm and then cut as shown in photo below.
Then I cut myself some panels slightly smaller than the side panels of my box and using the Elegant Poinsettia die and some Distress Ink (mowed lawn and barn door) I created the decorative panels for my box
Once these were done I matted them  onto some gold card and then glued them in place onto the flaps and sides. Once they were in place i glued the box together. Next I cut a couple of small strips of card approximately 2cm x 9cm and scored each one 1cm from each end. These I then glued inside the box as shown.
Then I simply stamped and gold embossed the Elegant Poinsettia multiple times, cut them out, coloured with distress inks, layered them up and put a little gem in the centre. Once the flowers were made I stuck each one onto a thin strip of acetate and then arranged and glued them into place.
Finished it off by adding a couple of flowers and a stamped greeting to the front flap.
Donna xx

Tuesday, 23 September 2014

A little shabby chic Christmas

.....for this weeks Creative Expression make using the new Sue Wilson Christmas stamps and dies with a dusky pink, green and copper colour scheme.
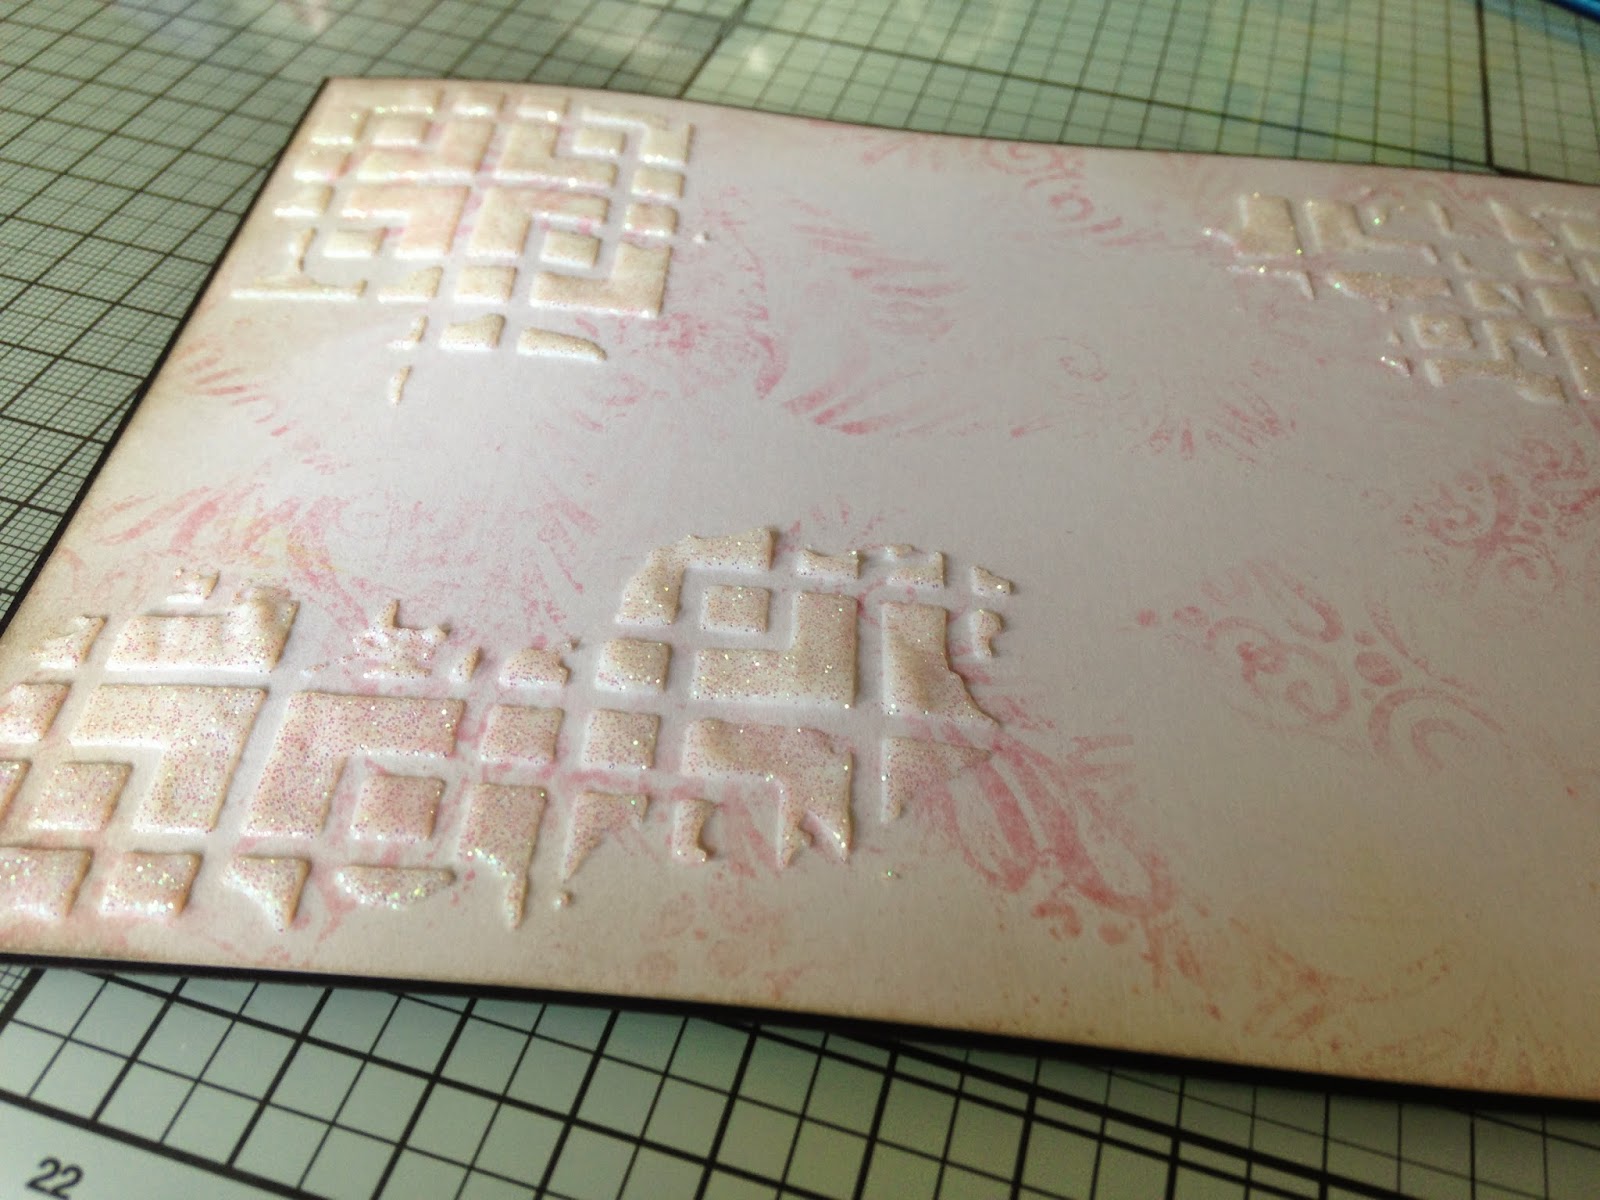
To create the background I dragged a mixture of Penny Copper and Aurora Sparkle Texture paste over a Moroccan mask by That Special Touch.....
For the flower I stamped the Elegant Poinsettia several times and embossed with a gold embossing powder, then using the classic poinsettia die I cut them out.  I then coloured each layer with a mixture of Worn Lipstick and Peeled Paint Distress Ink, before gluing together to create my flower....

I then layered up my backing sheet onto a piece of green card and wrapped a piece of crinkled organza ribbon around the bottom before gluing in place on a card blank. Then I tied a bow and placed it over the ribbon before gluing the poinsettia in place on top of the bow. To finish off I added some pearl swirls, which I coloured with a Promarker to match the card, and a stamped sentiment.
Thanks for stopping by :)
Donna xx


Tuesday, 16 September 2014

White and Sparkly...

....for this weeks simple but classic (I hope!!) Christmas card for Creative Expressions. Yet again it's featuring one of Sue Wilson's lovely Christmas dies, this time it's the turn of the Mosaic Poinsettia  and Classic Poinsettia dies.
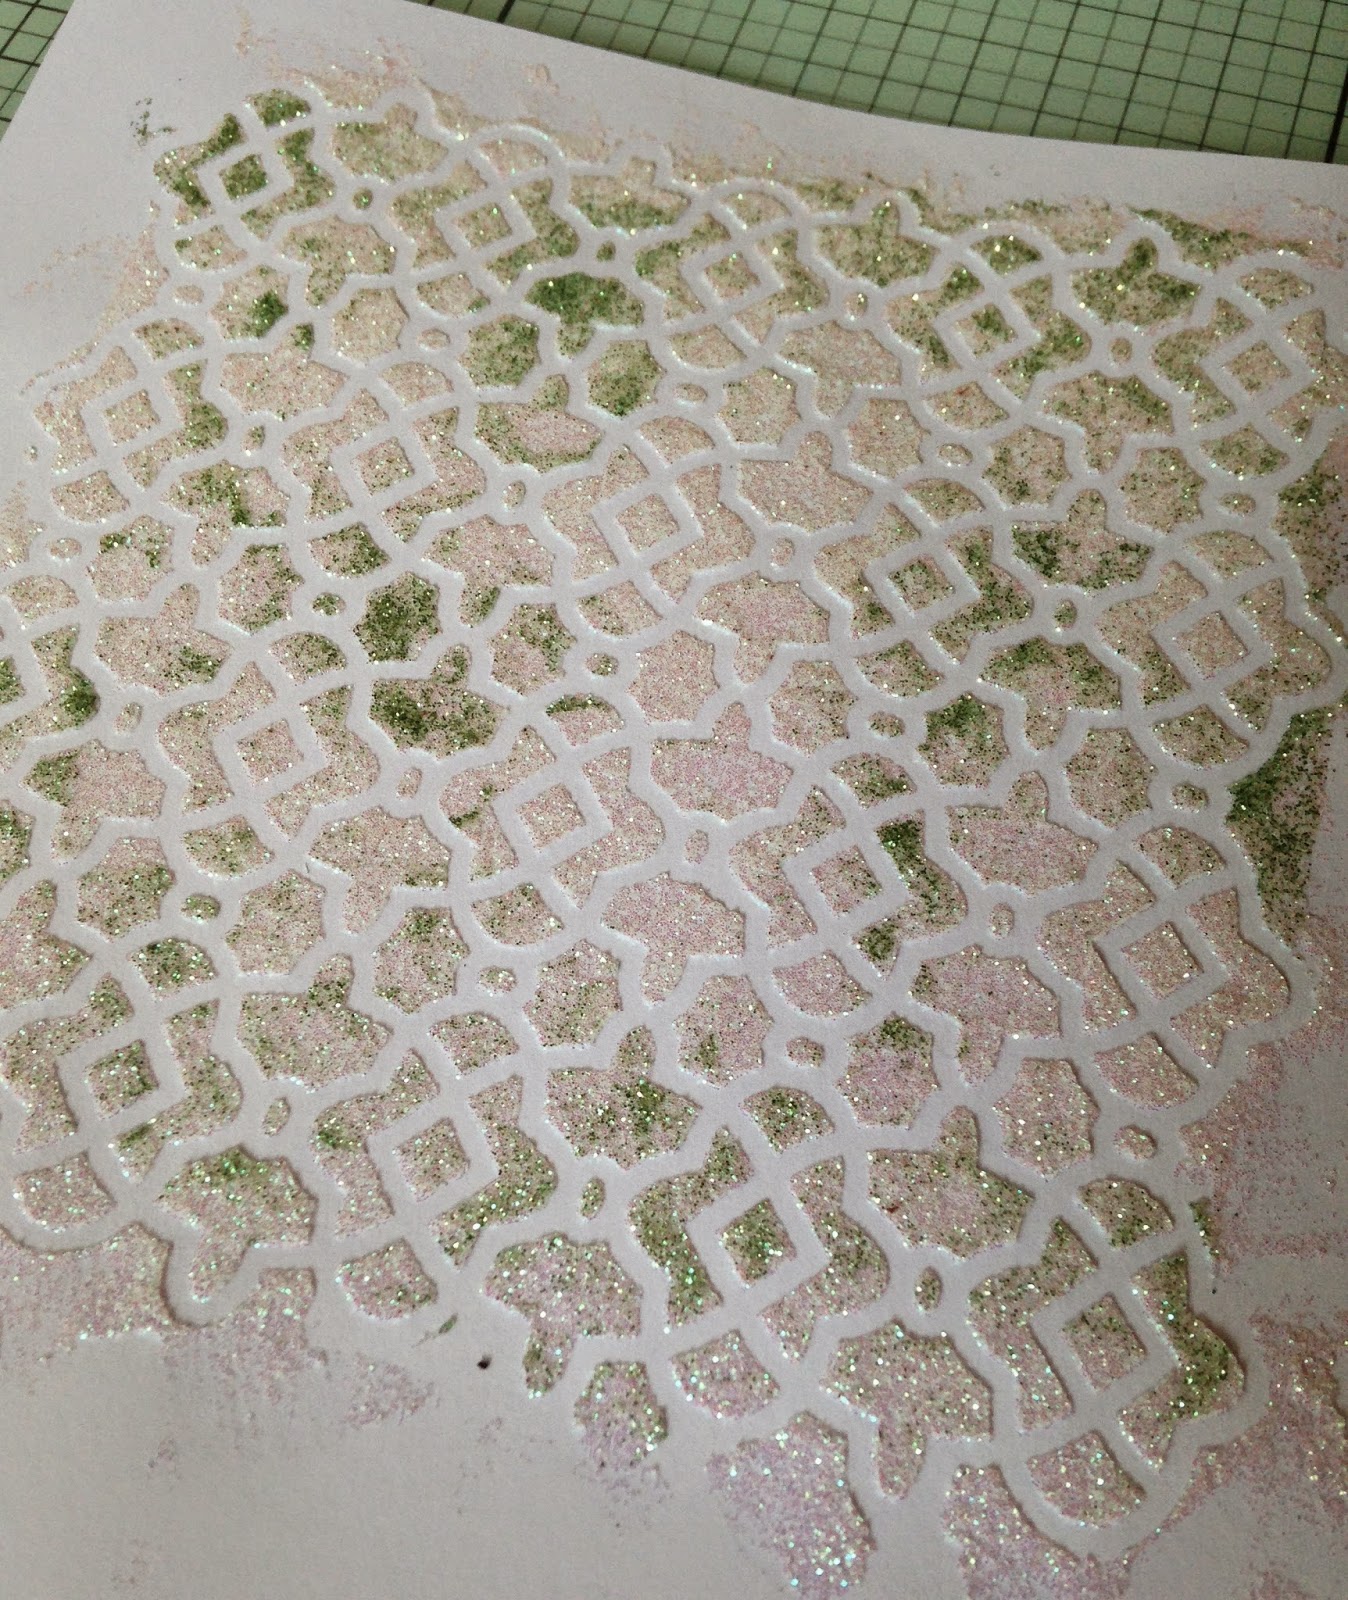
So to start off I cut myself a square of white card (approx 6") and covered it with a sheet of double sided adhesive. Then I cut several of the Mosaic Poinsettia's which I then stuck onto the sticky surface of the square of card........it's a good idea to play around with your arrangement before removing the protective covering of the double sided adhesive sheet.
Now to add the sparkle......now I have to say I HATE loose glitter, bloomin' stuff gets everywhere but at Christmas you just have to have a bit of sparkle!! So I tipped a pot of Diamond Sprinkles over the top of my square, and pressed down well all over it paying particular attention to all the little areas inside the flowers. Then I just tipped off the excess and gave it a final burnish.

To create the flower I cut a couple of large layers and a couple of smaller layers (one plain and one patterned), then glued them together with some Cosmic Shimmer glue. Now for the centre you could use one of Creative Expressions lovely Dazzlers but I have to admit I like to make my own beady centres my putting a good dollop of 3d glue gel/silicone in the centre and then dropping on some seed beads (in this case white pearl) which I gently push into the glue and to form a pretty beaded dome. Once all the glue was dry I lightly rubbed some gold gilding wax onto the edges of the petals and also lightly over the flowers stuck to the backing sheet. 
To construct the completed card I simply layered up with white and gold card and then added a stamped sentiment.

Donna xx

Tuesday, 9 September 2014

Another Christmas Card......

....made with Sue Wilson's Snowflake Bauble stamp and the corresponding Vintage Bauble die....
....this was actually a pretty quick and simple make, although it looks quite fancy! 

I started off by stamping the bauble three times with embossing ink onto some blue card and heat embossing with Silver Cosmic Shimmer Detail Embossing Powder. Then I cut them out using the outer die frame from the Vintage Bauble die set........these are really easy to line up and give such a neat finish. 

Whilst I had my die cutting machine out I cut four of the corner/hanger bits out of some scraps of silver card, once I'd cut them I trimmed the longer arm back a little to make them definite corner pieces.

So now for the panels behind the baubles. Size is going to depend on the size of your finished card but to give you an idea, this is a 7" card and these panels are about 5" x 1 1/4". So anyway I stamped the bauble several times onto the panel with Faded Jeans Distress Ink.....tip the stamp on its side and rotate each time so you don't just keep repeating the same look. Now I when I use distress inks and I want a slightly faded look I like to lightly blend over the top of the freshly stamped images with a bit of cut 'n' dry foam and because the ink is still wet you get this lovely slightly blurred/faded look. Repeat this on all three panels.
So that's about it, all the fancy bits are done and all that is left is a bit of matting and layering and a bit of gluing......see.....told you it was simple and quick :)
See you next Tuesday for some more of Sue Wilson's great new dies and stamps.......poinsettias next week......

Donna xx


Tuesday, 2 September 2014

Did you know......

there are only 16 Tuesdays till Christmas?! So if you have Christmas cards to make and you haven't started then maybe its a good idea to start thinking about it.........and the new Festive Dies and Stamps by Sue Wilson are a perfect place to start!! :)

So to help give you a nudge towards the festive preparations I have a little sparkly and gilded number for you today!
I started out by creating the background by scraping a mixture of Aurora Sparkle and Sea Green Sparkle Texture Paste over the Tracery mask by That Special Touch. I was very random with my application around the edges, wanted a slightly aged, distressed look.
Once it was dry I cut it down to a square, making sure to keep the ragged edges of the sparkle paste, then edged it with Peeled Paint Distress Ink before mounting onto a square of gold card.
To create the baubles I used the Vintage Bauble Die Set to cut 3  fancy baubles out of some plain white card. Next step was to cover a piece of card (large enough to cut three baubles from) with some double sided adhesive sheet, and then I cut 3 plain baubles to match the sizes of the fancy ones previously cut. The die sets have an outer frame and a fancy inner section so you can choose to cut fancy or plain. Then peel off the top layer from the sheet and carefully stick a fancy bauble onto a plain base.
Now cover the bauble with gilding flakes, press on firmly making sure you push them properly into the small holes within your die cut bauble. 
Once you've rubbed it well in and burnished it you will have three pretty gilded baubles... 
Lightly rub a little Peeled Paint Distress Ink over the white lines and then mount onto your background. Add some ribbon and some small bows so your baubles have something to hang from and mount your whole panel onto a card blank. Finish off with a stamped and mounted sentiment.

Donna xx


Tuesday, 26 August 2014

Happy Days.....

......especially if today is a dry one after all the rain we had yesterday!! Anyway enough of the moaning about the weather it's time for my last card of this month using the new framed floral stamps by Creative Expressions.  I've used a couple on today's card......Sunflower Delight and Desert Daisies
Nice quick and easy one this.......first stamp your floral panels and paint with Distress Ink (or use the distress pens).....I've used Spun Sugar, Squeezed Lemonade, Peeled Paint and Pumice Stone. Trim the panel and mount onto some brown card.
For the background panel take a rectangle of off white card ( I used milk) and using a bit of cut 'n' dry foam lightly colour with Spin Sugar and Pumice Stone Distress Ink......keep it pale in the middle and darken the edges more with the Pumice Stone.  Add a few bits of stamping using the Fern background stamp, then some sparkly texture with Cosmic Shimmer Aurora Sparkle Texture Paste and the Squared Mask by That Special Touch.  
When the texture paste is dry, simply mount up the floral panels, add  the stamped sentiment and then a few pearl swirls....I mounted the panels with 3d glue gel and had the pearls coming out from underneath the panels.

Donna xx


Tuesday, 19 August 2014

Morning All ......

....well time for my weekly play with some Creative Expressions stamps ( and don't forget there's still chance to have some fun on the blog hop...ends today at 5pm....check it out a couple of posts down) and today I've got a card to show you using one of the new floral stamps in the 'Singles' range, the one I'm using is Calla Lily Trio......
Start off by stamping the Calla Lilies a couple of times, cut the framed panels out and paint them with distress inks.....I've used Shaded Lilac, Peeled Paint, Squeezed Lemonade and Brushed Corduroy but you can use whatever colours you like. Mount the panels onto some brown card and leave on one side.

Now you need to make yourself a bit of backing card. Start by applying some blobs of distress ink in the colours you used for your flowers to your craft mat/glass mat spritz with some water and then swipe a sheet of white card through the ink dry and repeat if and until you are satisfied with level of colour.  Then randomly stamp a bit of interest with a background stamp......I've used a chequerboard stamp from the Vintage Flight set and stamped it with Brushed Corduroy distress ink. 

Cut some rectangles from this back with some brown card and and mount your flower panels onto them. Cut another thin, long rectangle and mount this onto some brown card....size etc will depend on how big your finished card is going to be and how big a border you put round your flower panels.
Assemble all your pieces and glue in place, trim with some self adhesive pearl swirls and then finish with a stamped sentiment.

Donna xx