....and a little how to make it. I've had a few people ask how I made the below 'card in a box' which was done for Sheena's latest stamp release.
Right so first off I must say this wasn't my idea......had seen loads of this style of card on Pinterest and when I saw these new flower and butterfly stamps I knew it was a perfect vehicle for them. So did a bit of research and found a tutorial on YouTube but the card would have been way to small for these big stamps so taking the basic idea I reworked it to a size that would work with the stamps.
Okay this is actually really easy to make, first of all cut two pieces of card 8" x 8.5"
Then with the 8.5" side to the top you need to score at 4" and 8", then turn the card around and score at 4"....
Fold along all the score lines and then cut as shown below......
Apply some wet glue along one of the small flaps......
...and attach to the other piece of card.
You've almost got a box now......just repeat the last step and your fold down box is pretty much complete.
Now to make the little struts inside you need to cut yourself two strips of card 5"x2", then score and fold half an inch from each end as shown below.....
Using wet glue again (it's stronger and has a bit of slip to start with) position the first strip as shown...
repeat with the second strip and you're done....
Try and keep one of the flaps upright because this will be the back, you'll be covering it but it's still helpful to keep it as straight as you can.
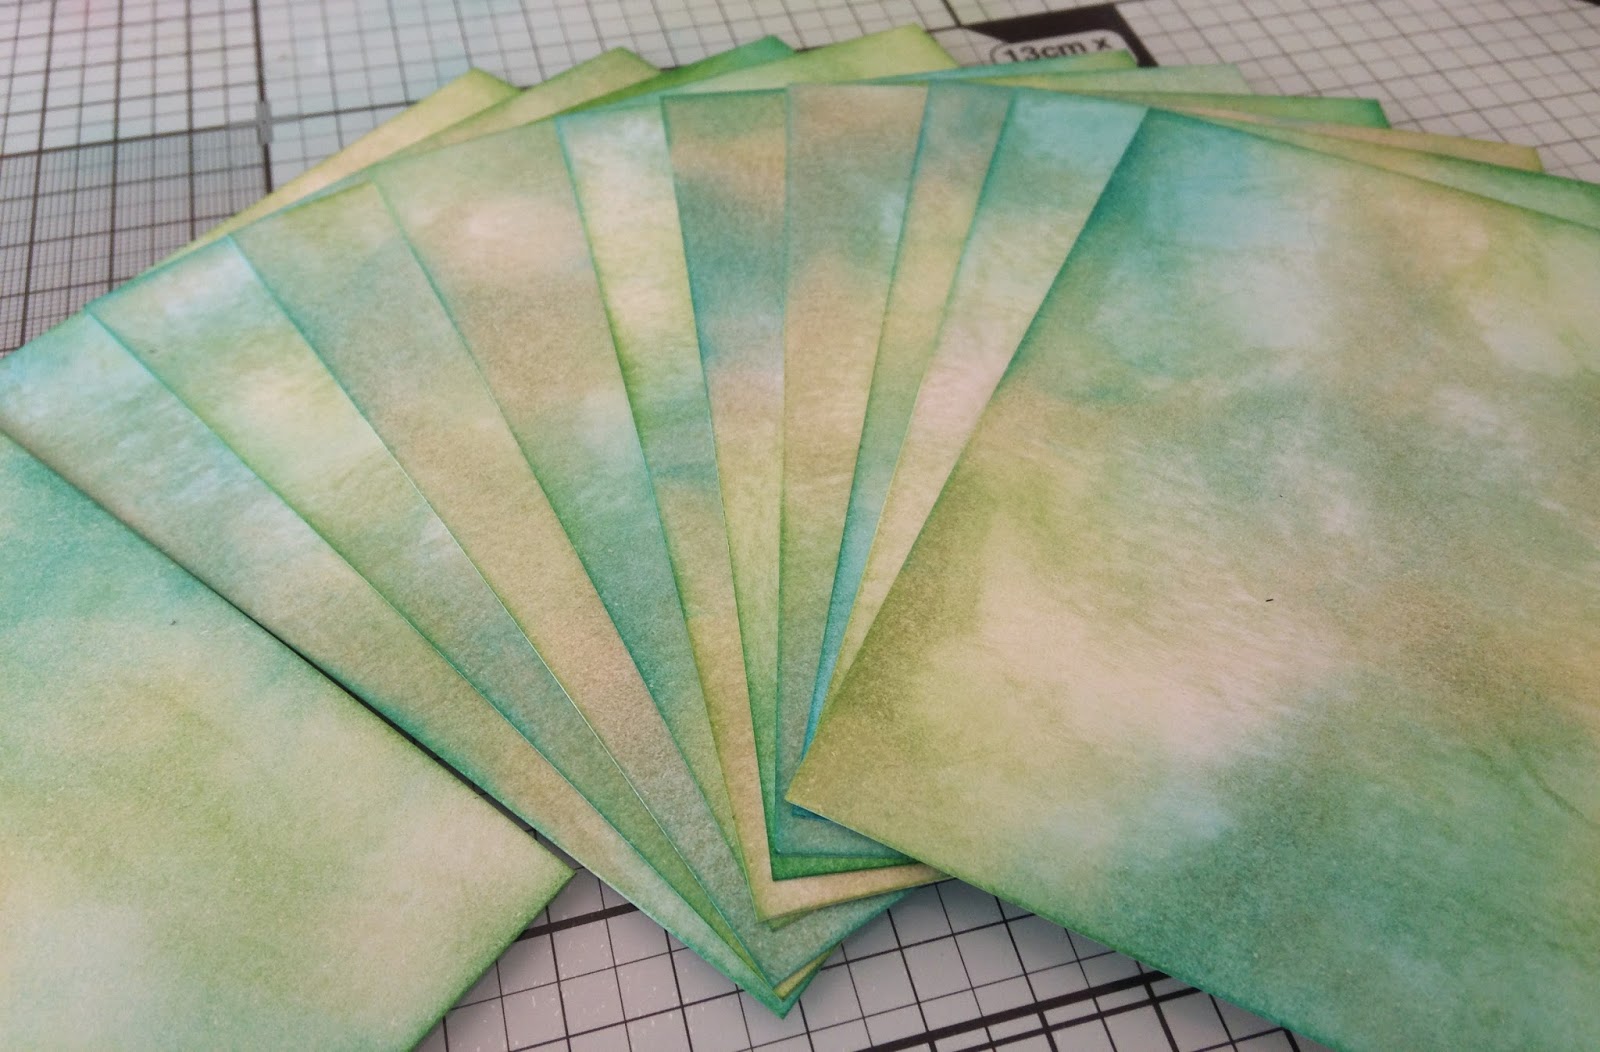
Now you can either use different coloured card or backing paper to decorate the sides of your box, the choice is yours. I created my own panels by inking each one with distress inks and then stamping each one. However you do it you will need one piece approximately 3.75"x 7.75" and 10 pieces approximately 3.75"x 3.75"....just check the measurements of your box to check the exact size you need.
Stamp out a large variety of flowers and butterflies and colour using the medium of your choice. I've used silks on mine.
Once coloured glue them all into place as and where you want them. You might find it useful to cut yourself some little stems of card onto which you stick the flowers before attaching them to the struts inside the box.....just enables you to get a greater variety in height etc. Attaching them onto acetate strips would work well as then you could get extra movement.
Just keep checking whilst sticking the flowers in place that the card is still folding flat ok.
So there you go.......pretty simple isn't it? Not overly quick if you make all your side panels and you're colouring all your images but definitely one of those makes that looks harder than it is!
Donna xx


Thank you so much for sharing Donna, it's really appreciated!
ReplyDeleteVery clever and vibrant too. Fab! Chris xxx
ReplyDeleteThanks for the tutorial - off to have a play xx
ReplyDeleteWonderful, thanks Donna. You are such a talented lady! x
ReplyDeleteFantastic tutorial Donna... I love this card Px
ReplyDeleteWhat's not to love. Beautiful.
ReplyDeleteLove this card and the instructions are so easy to follow, will definitely makeing some. Thank you
ReplyDeleteThank you so much,will try making one.
ReplyDelete